
Common Questions
Shipping & Returns
Do you accept returns/exchanges?
Due to the nature of the products we do not currently accept returns or exchanges. Read our full Refund Policy.
Can I cancel my order?
You can cancel your order anytime before shipment, however, orders cannot be canceled once they have been shipped and we reserve the right to cancel any unshipped order. Please contact us at info@whimsyandwit.com with your order information and we will be more than happy to help with your order.
How long will it take to receive my order?
Our processing time is 1-3 days (this does not include shipping time). This allows us to gather your items and package them accordingly. Currently, we use USPS for shipping and their times vary depending upon the shipping method used. Packages sent via USPS Priority Shipping has a standard shipping time of 1-3 days depending upon your location. If shipping USPS First Class shipping times vary depending upon your location.
If you are local and opt for local pickup or delivery our processing time remains the same and we will contact you when your order is ready for pickup or scheduled for delivery.
Ingredients & Product Information
What oils do you use in your soaps, are they sustainably sourced?
Our soaps are made using sustainability sourced RSPO palm oil, coconut oil, olive oil, and castor oil unless otherwise stated. Our soaps are vegan-friendly.
Do you offer vegan-friendly products?
A few of our products are made using beeswax so they would not be considered vegan friendly. However, we do offer body butter and lotions that are vegan friendly. Be sure to check each listing as we will clearly mark all of our ingredients on the ingredients tab for each product.
Are all of your products all-natural?
The term all-natural is not regulated by the FDA and the definition varies depending upon what each person considers all-natural. Most of our products are all-natural, however, we do use fragrance oils in some of our products, and to some, they would not be considered all-natural. Therefore, please be sure to read the ingredients list of each product.
Are the fragrances you use Phthalate Free?
Yes, we only use phthalate-free fragrance oils or essential oils (which naturally do not contain phthalates).
Can I use your products on my pet?
We do not test any of our products on animals. In general, we do not recommend using our products on any animal as we do not know what reaction they may have to the ingredients used in our products. Just like people, animals can be have allergies and sensitivities to a wide variety of things and it is best to er on the side of caution. If you do decide to use our products on your pet, you do so at your own risk and we will not be held liable for any harm or injury caused to your animal. As always, if you (or the purchaser) has any medical concern or questions related to the use of any product on your animal, please consult with your animal's licensed veterinarian.
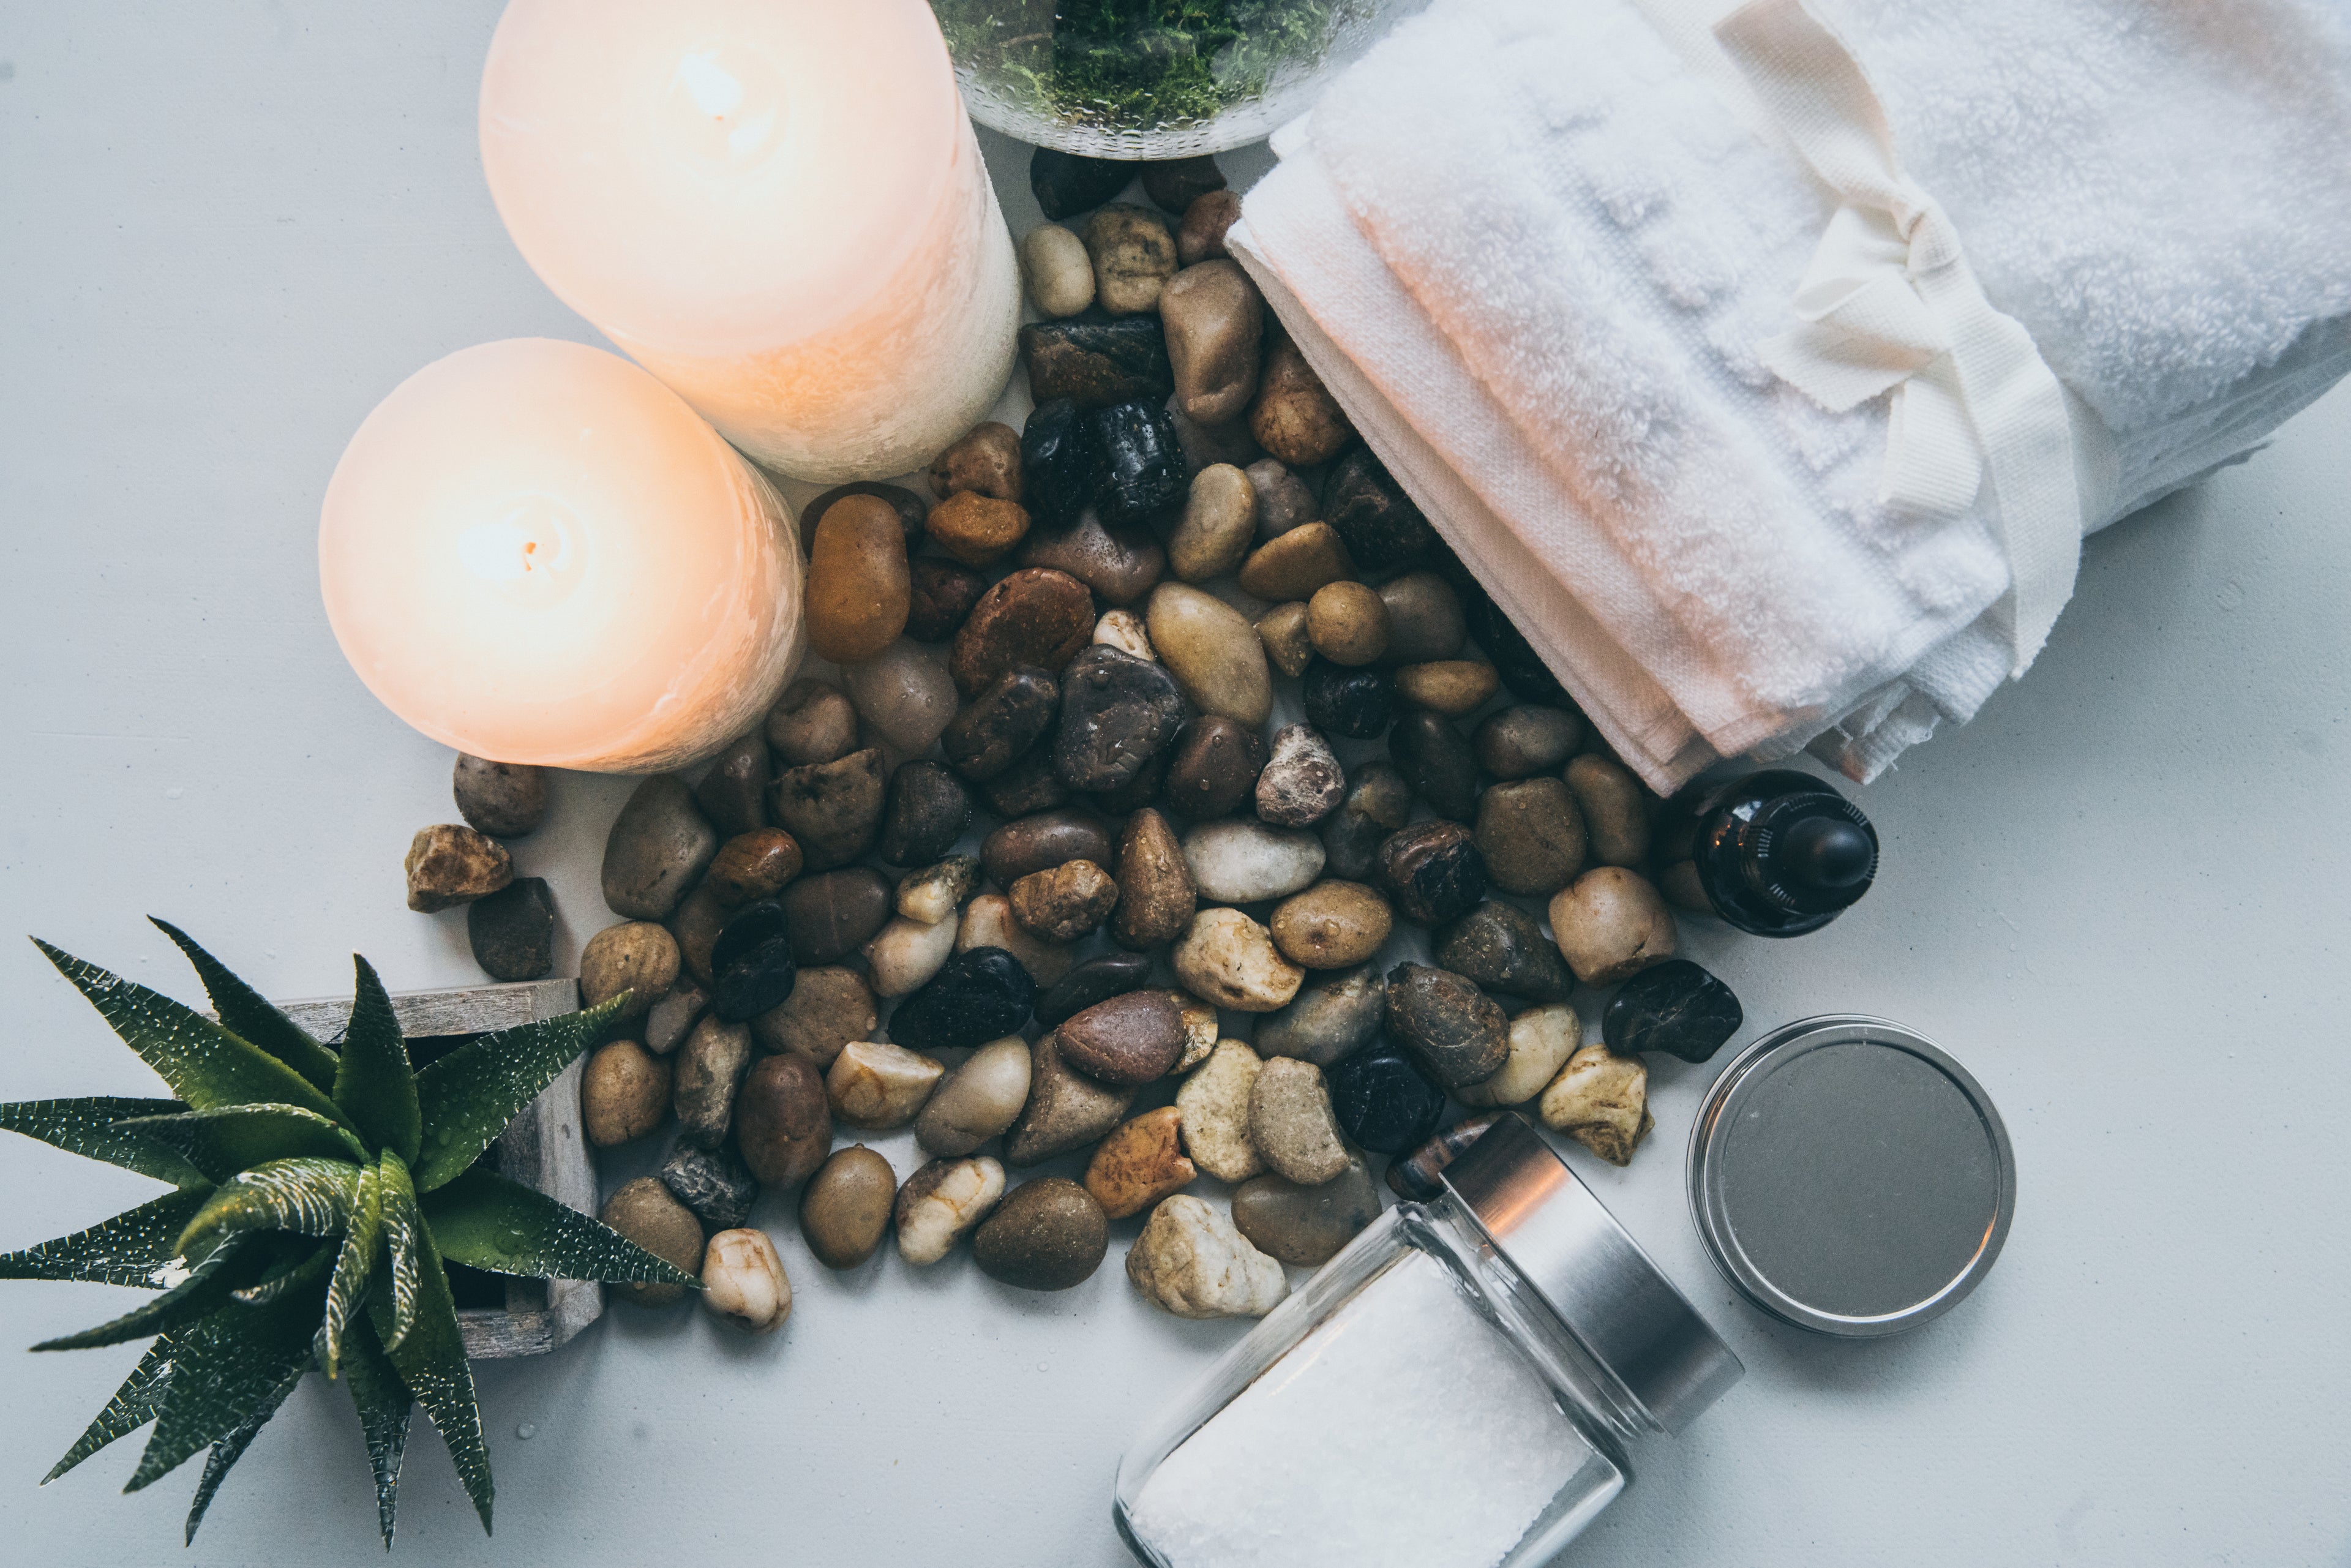
Candle FAQ's
What waxes do you use?
Our candles and wax melts are all a coconut soy wax blend.
How to care for your wood wick candles.
Wood wicks can be a little different than your traditional wick candle and need a little extra care to get a good burn established.
Are the candle fragrances you use Phthalate Free?
Yes, we only use phthalate-free fragrance oils in our candles.
Do you use essential oils in your candles?
At this time, we do not use essential oils in our candles. We have created these products in the past, however, after extensive testing, we have decided to only offer products that fit our market’s budgets and performance expectations. Essential oils are relatively more expensive than fragrance oils and do not perform in the same manner in candles as they do in our other products.
Wood Wick Candle Tips & Troubleshooting
How to care for your wood wick candles.
Wood wicks can be a little different than your traditional wick candle and need a little extra care to get a good burn established.
Lighting your wood wick:
Sometimes it will take several tries to light your candle. The heat from the flame needs to draw the wax through the wick. Once you get it going it should light more easily after the first burn.
Be sure you are slightly tilting your candle and letting the flame draw across the length of the wick.
The first burn is the most important in creating a candle that will perform optimally every time it is lit. Wood wick perform differently than traditional wicks and a few best practices (listed below) will help keep your candle from going out.
1. Allow your candle to burn until a melted wax pool has reached to the edges of the jar on the first burn.
The first burn is when your candle develops the melted wax pool that will provide to correct amount of oxygen to your wick’s flame for the rest of its life. Allow your candle enough time to create a melted wax pool extends all the way to the edges of the jar. This can take anywhere from 2-4 hours. If the full melt pool is not acheived it can eventually create a tunneling effect that does not provide sufficient oxygen to the wick’s flame and will cause the flame to go out after short periods of time.
If your candle is already experiencing this tunneling effect and only burning for short periods of time see step #3
2. Keep your wick trimmed and free of charred material.
Wood wicks need a little extra maintenance in order to burn properly, After your candle has burned, been blown out and allowed to cool completely, ensure you are trimming your wood wick to about 1/8″ and clean off any burnt material from the wick. Wire cutters or nail clippers will work to trim your wood wick if you don’t have a wick trimmer.
If you don’t have the tunneling effect described in step 1, the wick length and charred material could be the culprit causing short burns.
3. How to fix tunneling in candles.
If you are already experiencing the tunneling effect in your candle, you can fix it, however, it is going to take a little work and time to do so. Whether you have forgotten that you had to leave the house right after you lit your candle, had a little helper “blow out the candle,” or turned a fan on that was pushing too much air that caused the flame to go out, you can fix your short burn issue. We have personally experienced some, if not all of these scenarios in our house and have successfully fixed short-term burns caused by tunneling.
Depending on the severity of your tunneling, the amount of care/time needed to fix it will vary.
First, you will need to keep the candle lit as long as possible to create a long burn that melts the wax all the way to the edges of the jar. This may require you to keep an eye on your candle and periodically check it to make sure the flame has not gone out. If it has, simply relight the candle. Depending on the severity of the tunnel, you may have to relight the wick several times. This will ultimately “reset” the memory of the wax. During this process, the flame height will vary but as long as it is still lit, the process is working.
Second, you need to insure that your wick isn’t “drowning” in the wax pool. If it appears the wick is less than 1/8″ above the wax pool, it could be “drowning” in wax. To fix this blow out your candle and simply use a napkin or paper towel to carefully soak up some of the excess wax. Be careful to not touch the hot wax directly with your fingers/hand. Wait a minute or so, and relight your candle; repeat as needed.
If you cannot get the wax to soak up, you can try scraping out the wax near the edge of the jar to create more space for your wick to breathe.